
When a fused-glass firing goes wrong, it can feel personal. A piece that looked carefully assembled comes out cracked, bubbled, cloudy, too flat, not fused enough, or strangely different from the last firing. It is tempting to blame the kiln, the glass, or one mysterious wrong number.
Sometimes the kiln really is uneven. Sometimes the glass construction created a problem before the schedule began. But most failures become easier to understand when you read them as clues. The result is telling you where the firing needed more patience, less heatwork, a different hold, better construction, or a safer cool.
This article is not a promise that every problem has one clean cause. Glass is affected by thickness, compatibility, kiln size, shelf position, mold mass, air paths, firing history, and the studio environment. But learning the common patterns gives you a clearer way to troubleshoot instead of rewriting the whole schedule in frustration.
01 / Thermal shock
Cracks often begin with uneven temperature.
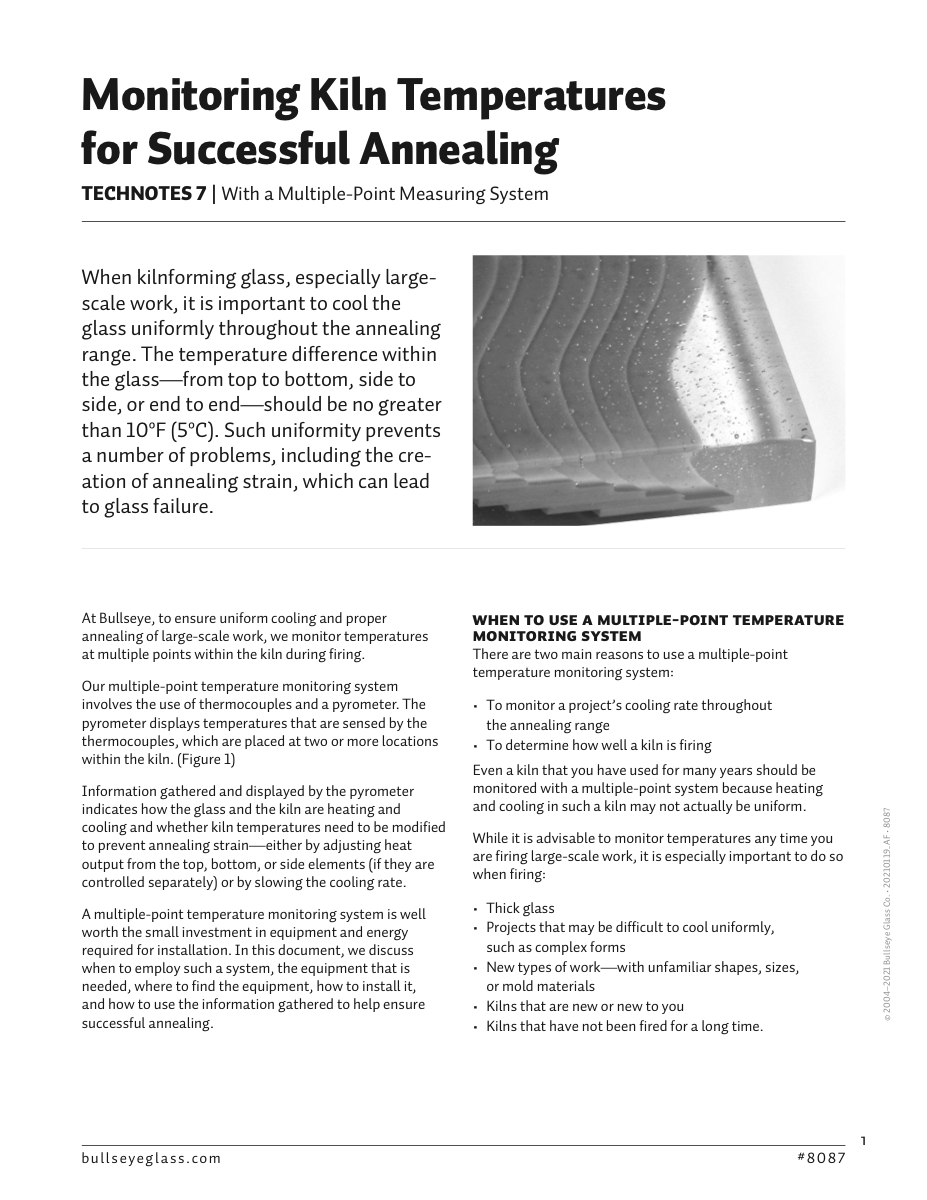
Thermal shock happens when one part of the glass expands or contracts faster than another. The stress can exceed what the piece can tolerate, especially during early heat-up or later cooling. The result may be an obvious crack, a clean break, or a piece that fails after it seemed successful.
Early heat-up is the first place to look. Thick work, uneven stacks, cold shelves, heavy inclusions, dams, molds, and mixed masses of material all need time to even out. A schedule that is comfortable for a thin two-layer coaster may be too aggressive for a thicker panel or a piece with raised components.
Cooling can cause similar trouble. The work may look finished after the peak temperature, but the glass is still moving through sensitive ranges. If the cooling path is too fast for the thickness or shape, new stress can be locked in even after the surface looks beautiful.
The studio response is not simply “always go slower.” The response is to slow down where temperature differences are likely. Keep notes on thickness, shelf placement, mold use, and where cracks appear. Those clues tell you whether the schedule needs a gentler warm-up, a more careful anneal, or a slower cool.
Troubleshooting clue: a crack is often a temperature-equality problem before it is a peak-temperature problem.
02 / Trapped air
Bubbles come from construction and timing together.
Bubbles are one of the most common frustrations in fused glass because they can have more than one cause. Air can be trapped between layers, under textured glass, around powder or frit, along dams, inside uneven stacks, or against a shelf when the construction gives it no path out.
A bubble squeeze segment can help by giving air time to move before the top surface seals. That usually means restraint: a controlled climb and sometimes a hold in the range where the glass is softening enough for air to travel but not yet sealing too quickly.
The schedule cannot solve every air problem alone. If two large sheets are stacked perfectly flat with no escape path, or if inclusions and powder create pockets, the firing may only reduce the problem rather than eliminate it. Construction choices and schedule choices have to cooperate.
When bubbles appear, look at their size and location. Small champagne bubbles, large trapped domes, edge bubbles, and bubbles around inclusions may point to different causes. Your next test might change the layup, the cleaning, the bubble squeeze, the hold time, or the shelf setup — but change only one or two things at a time so the result teaches you something.
The schedule can give air a chance, but the glass layout has to give air somewhere to go.
03 / Too much heatwork
Overfiring is often time plus temperature, not just temperature.
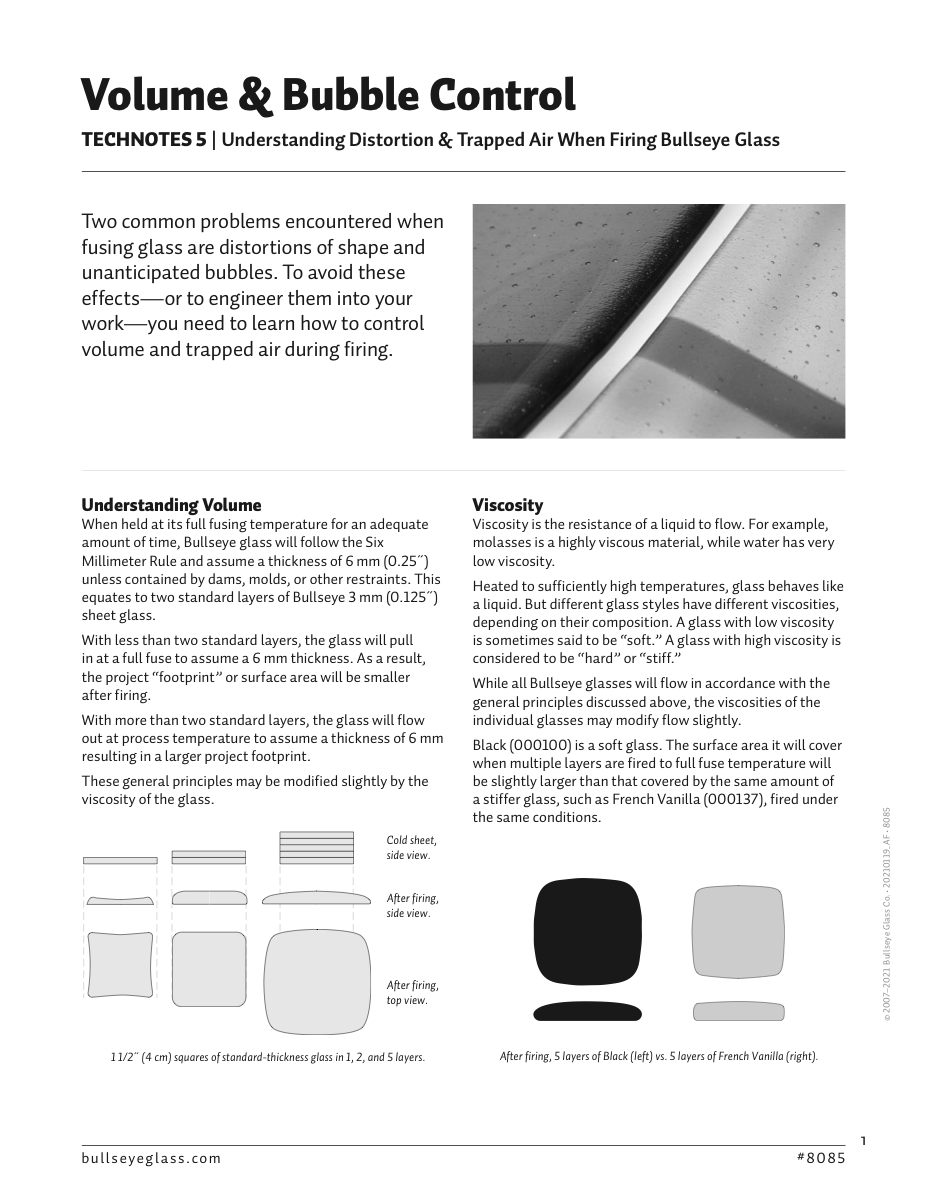
Overfiring can show up as edges that round more than intended, detail that disappears, a tack fuse that becomes too flat, a slump that drops too far, or colors and surfaces that behave differently than expected. The usual suspect is peak temperature, but peak temperature is only part of the story.
Heatwork is cumulative. A slower climb, a longer hold, a hotter shelf position, a densely loaded kiln, or a kiln that overshoots can all give the glass more effective heat than the written target suggests. Two firings can share a peak number and still produce different results.
This is why hold time matters so much at forming temperature. A few extra minutes can be enough to soften texture, round edges, or deepen a slump. In some kilns, the controller reading may also lag behind the actual behavior of the work in a particular shelf position.
If a piece overfires, do not only lower the final temperature. Ask whether the schedule arrived too slowly, held too long, or stayed near forming heat after the desired result had already happened. Sometimes the most useful fix is a shorter hold, a slightly lower target, a faster move away from forming heat, or a more consistent shelf location for tests.
Troubleshooting clue: if the piece looks too soft, inspect total heatwork — rate, target, hold, kiln behavior, and shelf position together.
04 / Too little heatwork
Underfiring means the glass did not receive enough useful heat.
Underfiring is the opposite pattern: sharp edges remain too sharp, layers do not bond as expected, texture is too pronounced, a slump barely moves, or the surface looks unfinished. Again, the issue may not be a single number.
The kiln may not have reached the intended temperature at the glass, the hold may have been too short, the glass may have been thicker than the schedule assumed, or the mold and shelf mass may have absorbed heat. Some kilns also behave differently when they are heavily loaded.
Before increasing temperature dramatically, decide what change you actually want. Do you need more edge rounding, deeper bonding, more movement into a mold, or only a slightly smoother surface? Each goal suggests a different adjustment.
A careful test might add a short hold, raise the target slightly, slow the approach to forming temperature, or change shelf position. Record the visual change in studio language: “edges softened but texture stayed,” “center slumped but corners lifted,” or “layers bonded without fully flattening.” Those notes are more useful than temperature numbers alone.
Underfiring is not failure; it is information about how much heatwork your piece actually received.
05 / Annealing and cooling
Some problems happen after the piece looks finished.
Annealing problems can be hard to read because the piece may look successful when the kiln opens. Stress can remain inside the glass and reveal itself later as cracks, weakness, or a break that seems to come from nowhere.
The thicker or more uneven the work, the more seriously annealing and cooling need to be treated. A shallow dish, a thick slab, a textured panel, and a casting do not all need the same stress-relief strategy. Complexity matters as much as size.
An anneal hold gives the piece time to equalize internally. The controlled cool that follows prevents new stress from building as the glass contracts. Rushing either part can undo a firing that looked visually correct at peak temperature.
When troubleshooting cracks after firing, do not only look at the hot part of the schedule. Review the anneal temperature, hold length, cooling rates, thickness, shape, and whether the kiln was opened too early. The safest studio habit is to treat cooling as making time, not waiting time.
A piece can be visually finished before it is physically safe.
Studio notes
How to use this in the studio
Use these as practical prompts for a kiln log, a studio conversation, or your next firing test.
- Write down the visible problem in plain language before changing the schedule.
- Change one major variable at a time: target, hold, rate, construction, shelf position, or mold setup.
- Use manufacturer schedules as starting points, then adapt for your kiln, thickness, and result.
- If cracks appear, review heat-up, anneal, and controlled cooling before blaming only the peak temperature.
Source references
Additional resources
One practical firing tip a week
Get a short glass-studio note in your inbox.
No spam — just one useful firing, glass, or studio-practice idea from My Glass Cookbook each week.
Your email is used for MGC studio notes. Read the Privacy Policy.