
Some kilnforming schedules ask glass to do more than bond, soften, or slump. Casting asks glass to fill a mold or form a thicker object. Pot melts ask glass to flow from a container or opening. Drop-outs ask a heated sheet to sag through a ring or aperture under gravity.
These processes can be beautiful, but they are less forgiving than simple article examples. They involve more mass, more movement, special kiln furniture, molds or containment, and often more demanding annealing.
This guide is intentionally high-level. Treat it as a way to read the schedule logic before using a manufacturer, teacher, or process-specific firing plan.
01 / More movement
Special processes ask glass to travel farther.
In basic fusing, glass may bond and smooth. In slumping, it bends into a mold. In casting, pot melts, and drop-outs, the glass may flow, stretch, gather, fill, or hang in ways that create very different stress and heatwork questions.
That extra movement means setup matters as much as temperature. Mold material, dams, containment, kiln furniture, shelf protection, aperture size, glass volume, and support geometry all influence what the schedule can safely do.
Before firing, understand the physical path. Where will the glass start? Where is it supposed to go? What stops it? What supports it? What happens if it moves too far or not far enough?
Special-process schedules control a physical journey, not just a surface result.
02 / Casting logic
Casting schedules manage volume, mold, and heat inside mass.
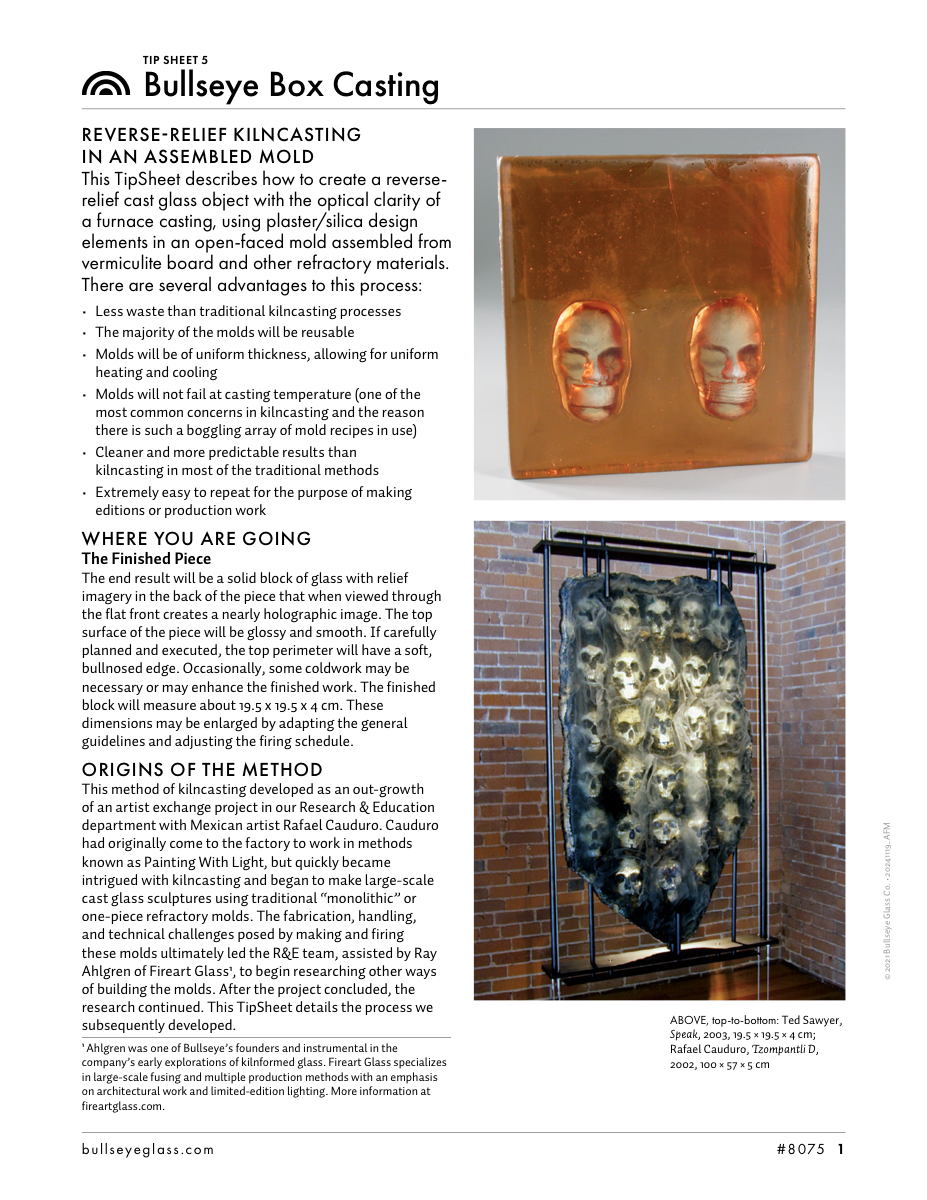
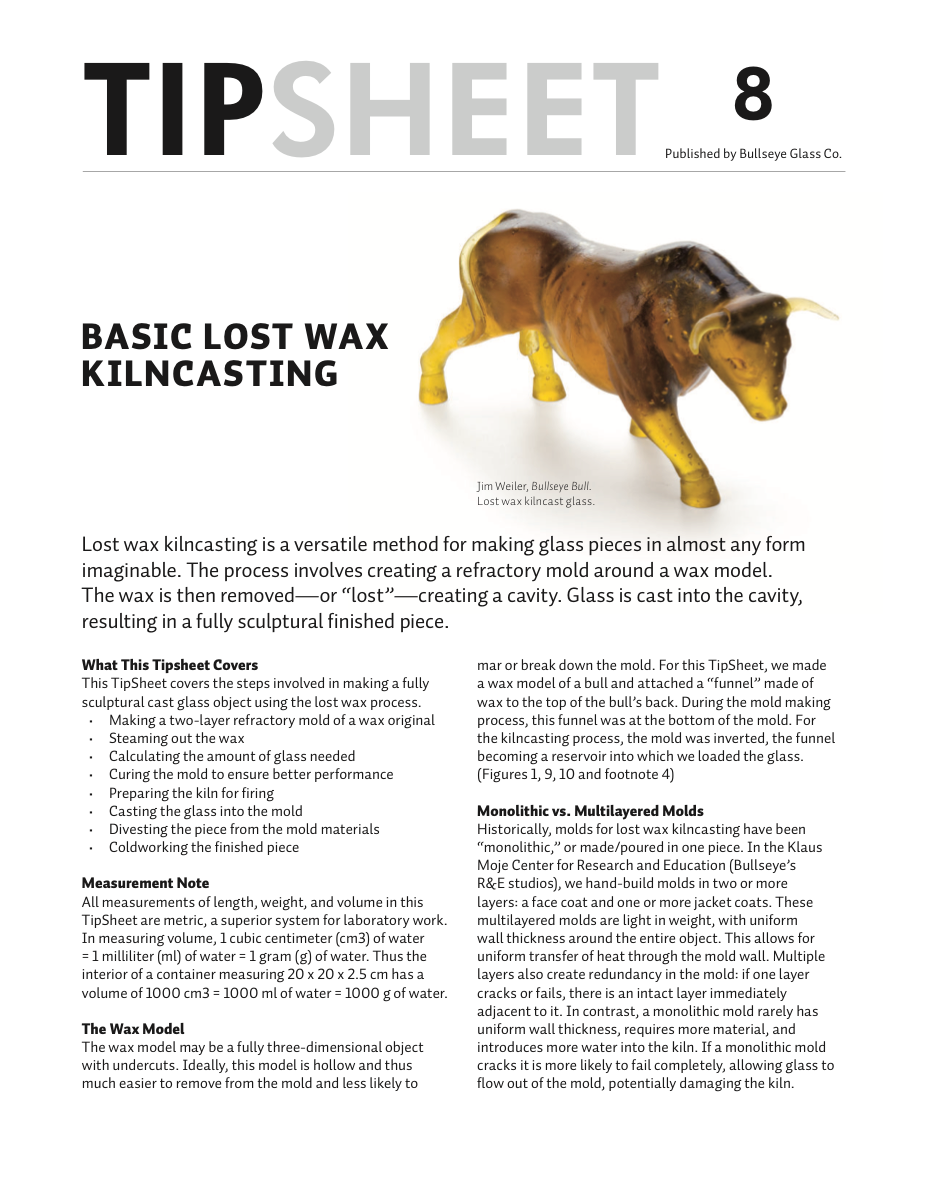
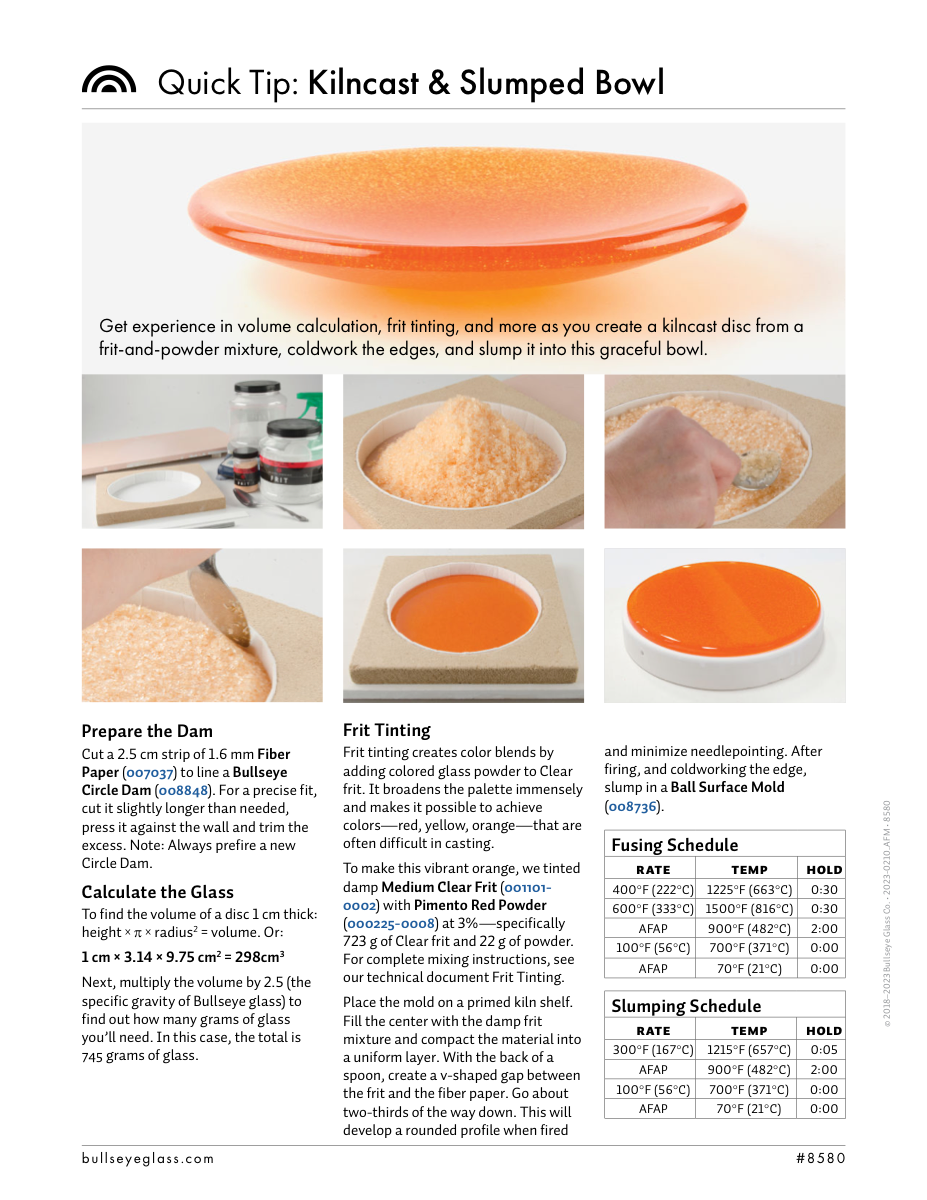
Casting usually involves thicker glass and a mold or containment system. The schedule has to heat the glass, let it flow or settle into the form, then anneal for the actual thickness and shape of the cast object.
Molds can absorb heat, slow the firing response, and affect how glass fills details. Glass volume, billet or cullet arrangement, mold material, vents, dams, and reservoir design can all change the result.
The annealing phase is especially important because cast work often has more mass than ordinary sheet projects. A casting may look solid and successful while still needing a very careful stress-relief plan.
In casting, the schedule has to serve both the mold and the mass of glass.
03 / Pot melt and drop-out logic
Gravity becomes a stronger design partner.
Pot melts and drop-outs rely heavily on gravity. In a pot melt, heated glass flows from a container or opening and gathers below. In a drop-out, a glass sheet softens and sags through an aperture to create a vessel or form.
Because the glass is moving under gravity, timing and observation can matter. Too little heatwork and the movement may be incomplete. Too much and the glass may stretch, thin, distort, hit a shelf, or move beyond the intended form.
These firings also require safe physical setup. Kiln furniture, shelf protection, containment, aperture height, and clearance must be planned before the schedule starts. The written schedule cannot compensate for an unsafe or poorly supported setup.
Gravity can make elegant forms, but it can also quickly turn extra heatwork into distortion.
04 / Process-specific caution
Use proven schedules before improvising.
Casting, pot melts, and drop-outs are not ideal places to invent a schedule from a basic full-fuse or slump recipe. The process-specific details matter too much: glass system, volume, mold, setup, desired movement, and annealing thickness.
Start with manufacturer guidance, teacher instructions, or tested studio notes for the specific process. Then adapt slowly and document what changes. Treat the first firing as information, not proof that the process is universally solved.
If you use Kiln Schedule Designer for planning, use it as a way to think clearly about segments, holds, and annealing — not as a substitute for process-specific safety knowledge and tested schedules.
Special processes deserve special schedules, not recycled basics.
Studio notes
How to use this in the studio
Use these as practical prompts for a kiln log, a studio conversation, or your next firing test.
- Draw the physical movement path before firing: start, flow/drop direction, support, stop point, and risk zones.
- Use process-specific manufacturer or teacher schedules as starting points.
- Anneal for the final thickness and mass, especially for cast work.
- Check setup safety: containment, shelf protection, clearance, mold preparation, and kiln furniture before programming the kiln.
Source references
Additional resources
One practical firing tip a week
Get a short glass-studio note in your inbox.
No spam — just one useful firing, glass, or studio-practice idea from My Glass Cookbook each week.
Your email is used for MGC studio notes. Read the Privacy Policy.